Configuring Intacct
Subscribe to Web Services
- Go to Company > Admin > Subscriptions
- Find Web Services and click on it to Subscribe, if this is not already enabled.

IP address
This step only applies if your security team restricts connections to Sage Intacct based on IP addresses
If you are restricting access by IP address you may need to add the 1Password SaaS Manager IP address:
- Go to Company > Setup > Company and click Edit
- Click on the Security tab
- Go to the field labelled Enforce IP address filters, click the Edit button, and then the Pencil icon.
- Add the IP address 104.209.158.246.
Sender ID
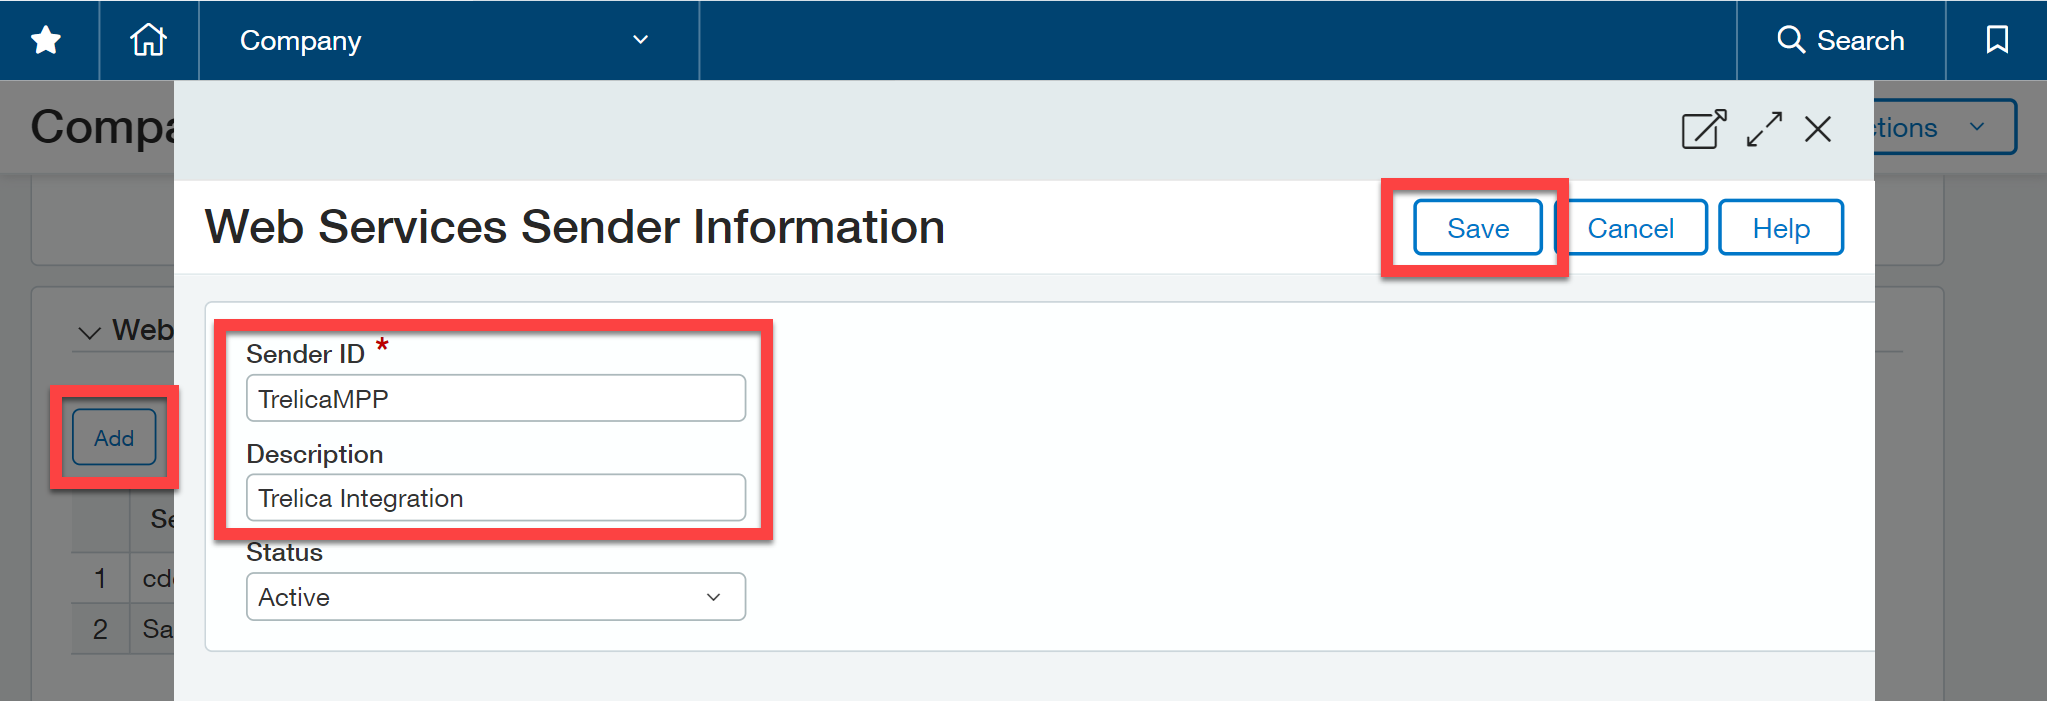
Add the SaaS Manager Sender ID to the allowed list.
- Go to Company > Setup > Company

- Click the Edit button and click on the Security tab
- Go the section labelled Web Services authorizations and click Add:

Add the Sender ID SaaSManagerMPP and click Save.

Creating a Web services user account
Do you use Role or User-based permissions in Intacct?
Depending on whether you use Role or User-based permissions, configuration is slightly different.
To find out which permissions you use, go to Company > Setup > Company Info, scroll to the Global settings block and look for the Permission type field.

Create a Role
If you use Role-based permissions, then you will first need to create a role and assign some permissions. You will then go on to create a web services user and assign this new role to the user.
If you use User-based permissions, then skip this step, and go on to Create a web services user. Once the web services user is created, you will then be asked to define the permissions for the user. Just follow the guidance in the Specifying permissions section.
- Go to Company > Admin > Roles and click the Add button
- Input a name for the role, e.g. SaaS Manager Integration, and optionally a description.
- Click the Save button

Specifying permissions
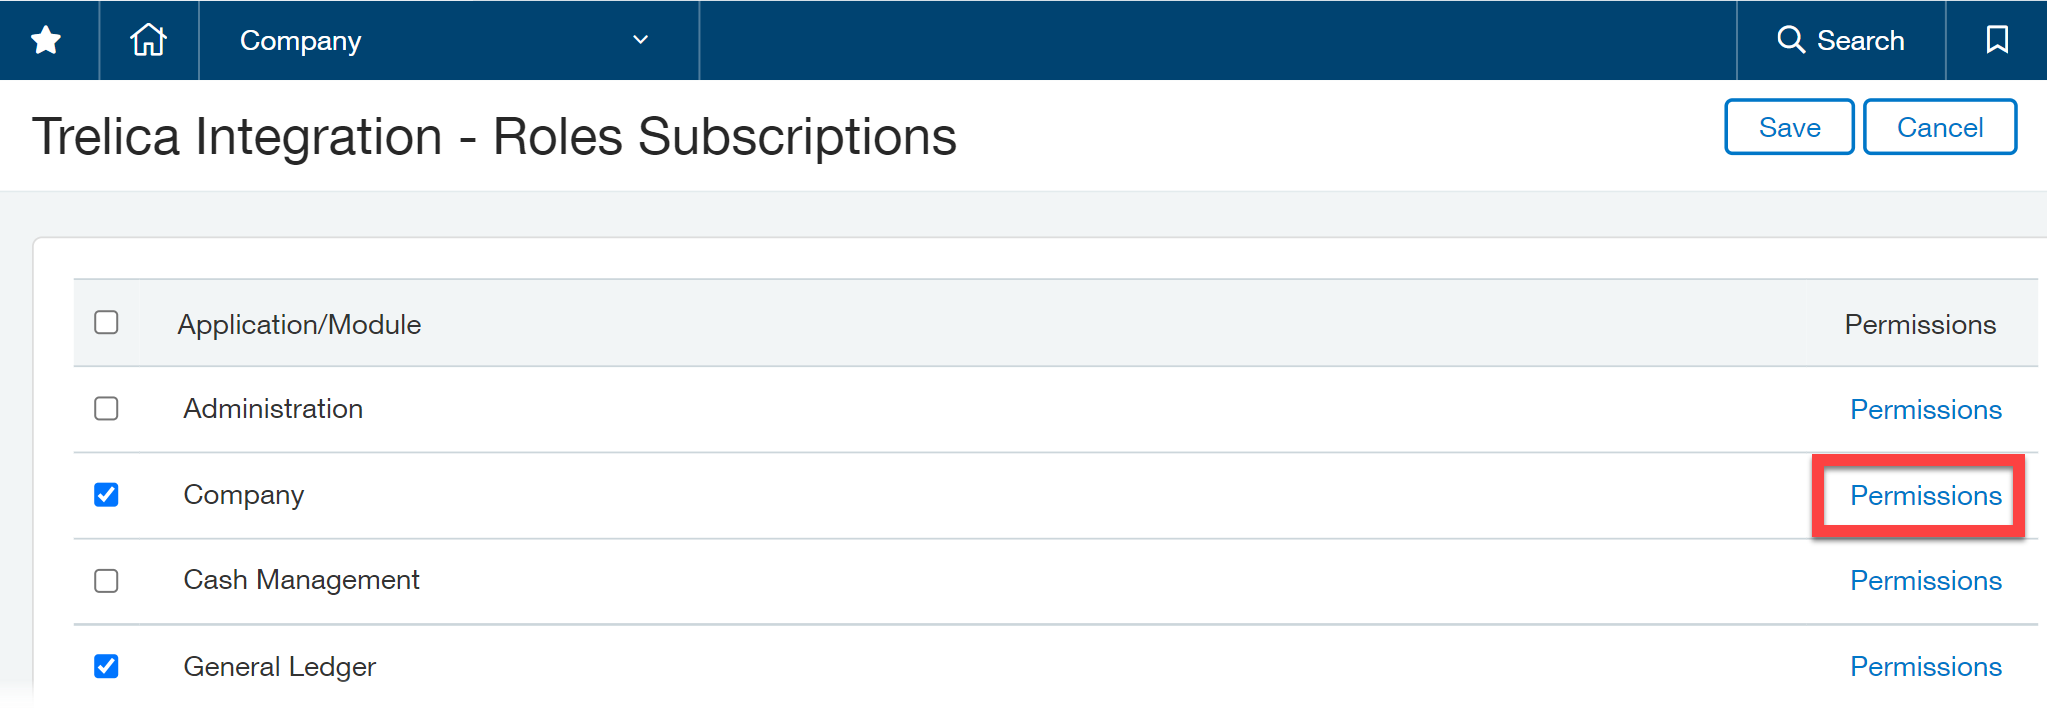
You will then be taken through to a screen where you can define permissions for the role. This screen is in two parts. The first shows the different modules. Click the Permissions button for each module listed below.

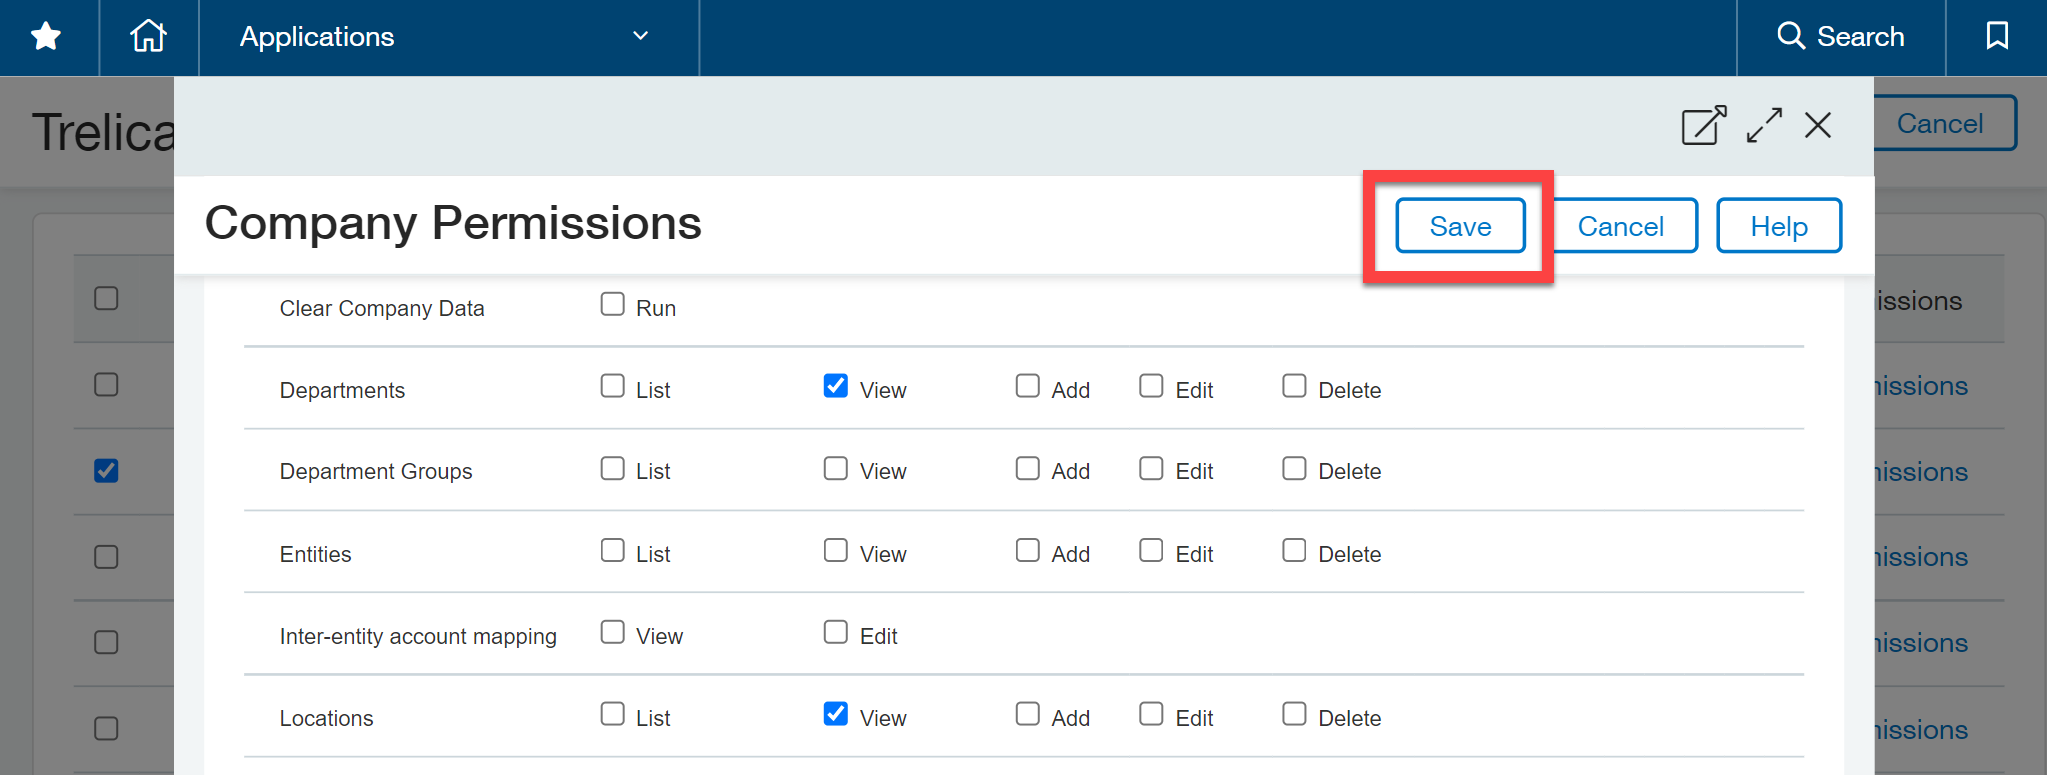
Then check the box for the relevant permissions and click Save when you are done, and move on to the next module that needs permissions setting.

| Module / Type | Permission(s) to select |
|---|---|
| Company | |
| Departments | View |
| Locations | View |
| Employees | View + Edit (for deprovisioning) |
| Cash Management | |
| Credit Card Transactions | View |
| General Ledger | |
| Accounts | View |
| Accounts Payable | |
| Bills | View |
| Adjustments | View |
| Time & Expenses | |
| Expense Summaries | View Expense |
When you have defined all the permissions, click the Save button.
Create a web services user
Web service users are not billable in Sage Intacct.
- Go to Company > Admin > Web Service users and click Add

Input values for these fields:
| Field | Value |
|---|---|
| User ID | XML_SAASMANAGER |
| Last name | Integration |
| First name | SaaSManager |
| Email address | An email account you have access to. See note below. |
| Contact name | Choose your user account |
| User name | (This will be filled out automatically) |
| User type | Business |
| Admin privileges | Choose Full if you want SaaS Manager to have the ability to deprovision users |
| Status | Active |
If you are using Role-based permissions, click on the Roles information tab and select the role created in the prior step.
Click Save.
If you are using User-based permissions you will now need to assign the permissions described in the Specifying permissions section.
Receiving your credentials
Your password will then be sent to the email address you specify above**.**
The email address may not belong to an existing Sage Intacct user, which can be problematic. We suggest using an alias if you have one, or if you use Google Workspace, you can simply add a "+" prefix to the name part of your email, e.g. jane.doe+intacct@SaaSManager.com.
Entering your credentials into SaaS Manager
Log in to SaaS Manager and either go to Integrations, and search for Sage Intacct, or find the the Sage Intacct application profile and click Connect.
You will be shown more details of the integration, and click Connect again.
Enter the details from the email you received in the relevant fields and click Connect.
Comments
0 comments
Please sign in to leave a comment.