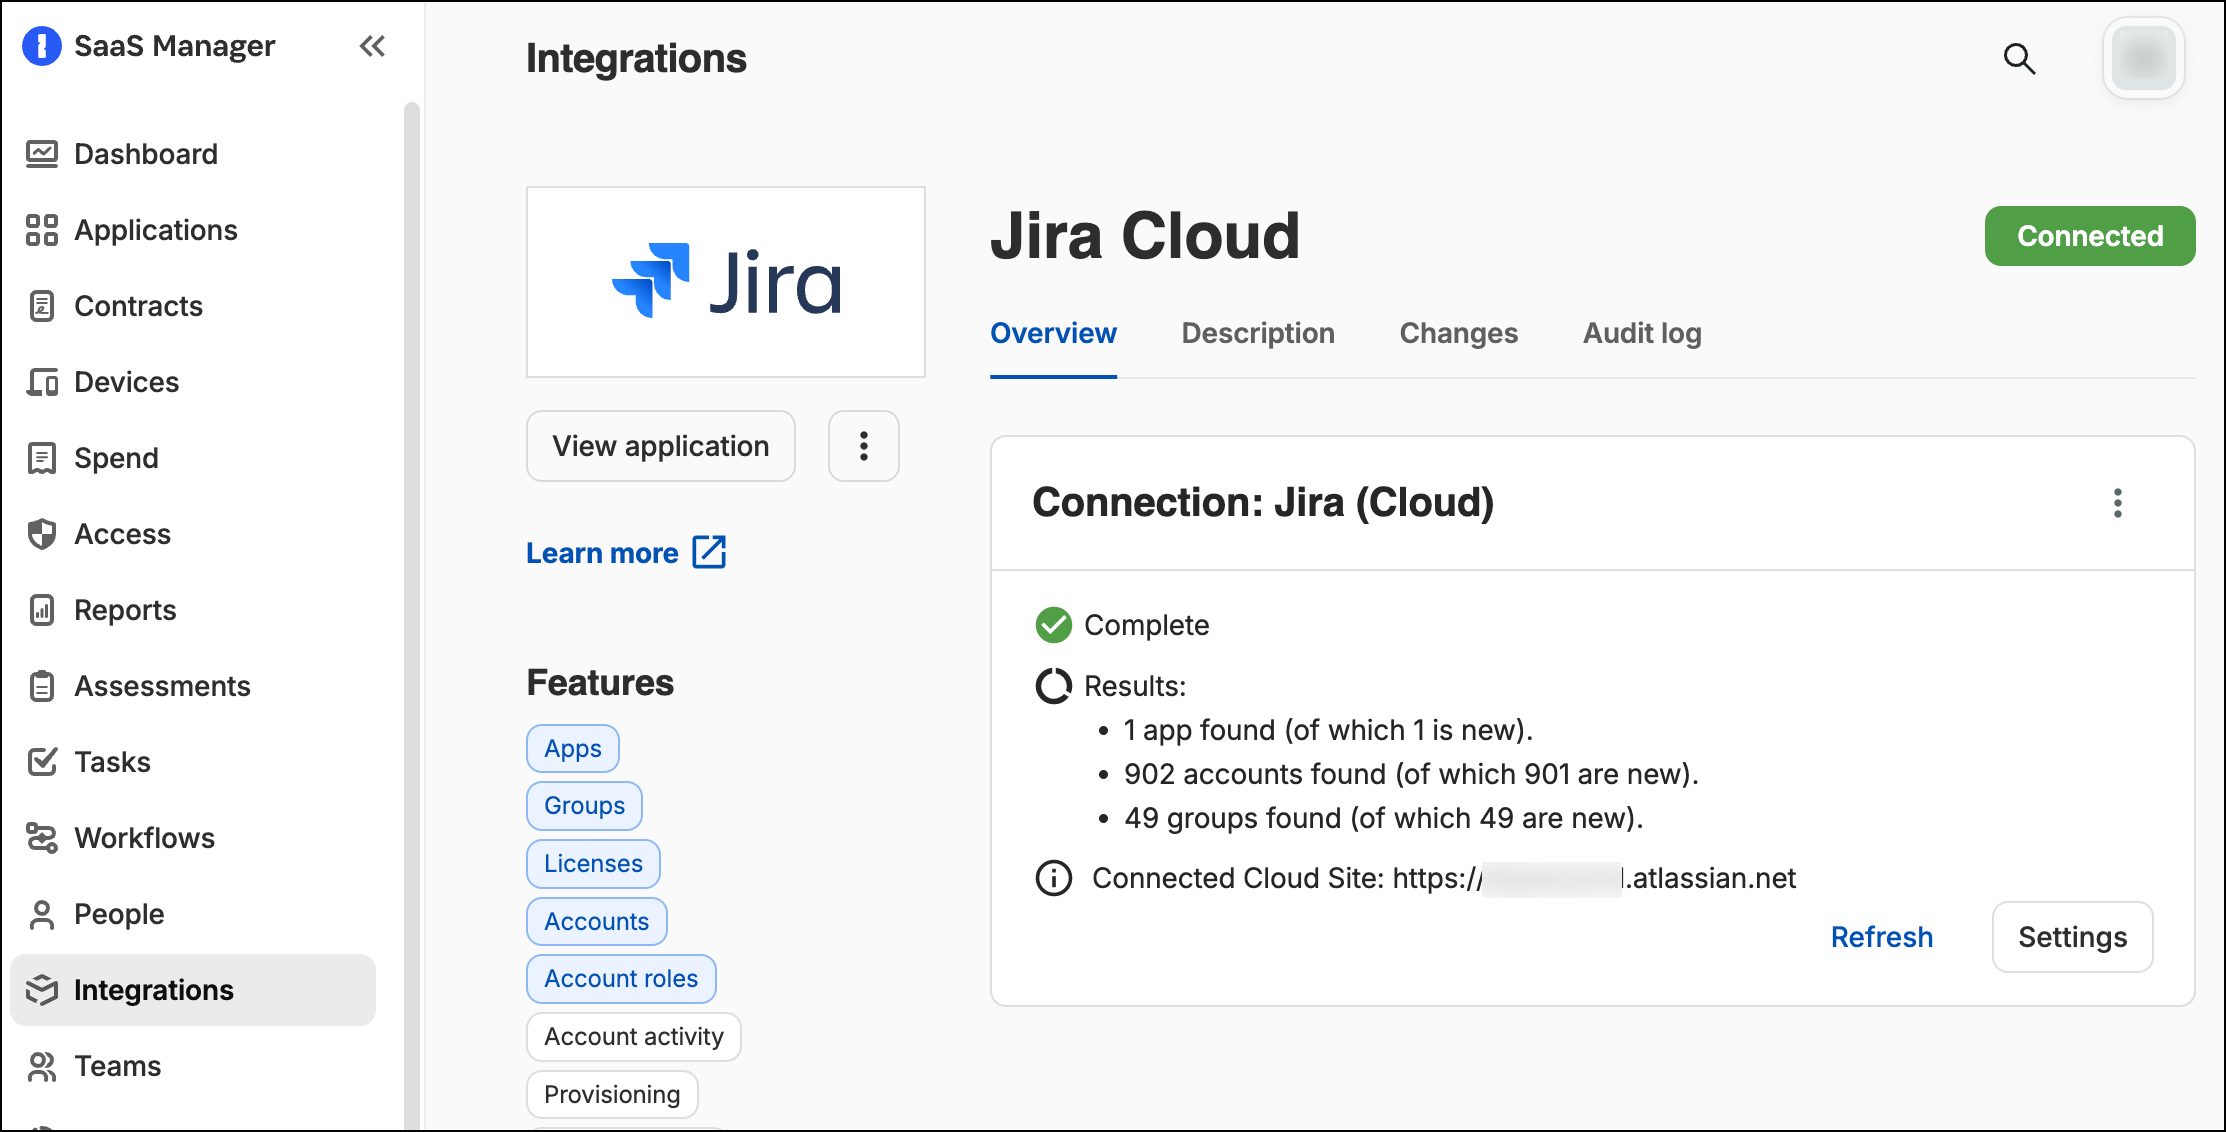
First make sure that you have connected to your Jira Service Management instance from 1Password SaaS Manager using the Jira (Cloud) connector. Check this by navigating to Integrations from your SaaS Manager dashboard, then search for Jira Cloud.
Now log in to Jira and add the SaaS Manager Access Requests application from the Marketplace.
Once the app has been added, you will need to authenticate. Select Configure access and you will be prompted with a consent screen. Select Continue.
Log in to your SaaS Manager account to finalize the process.
You must now configure which request types will show the Access request pickers.
Select the Project and Request type and click Add.
You can add multiple request types.
The panel will then appear when users raise service requests:
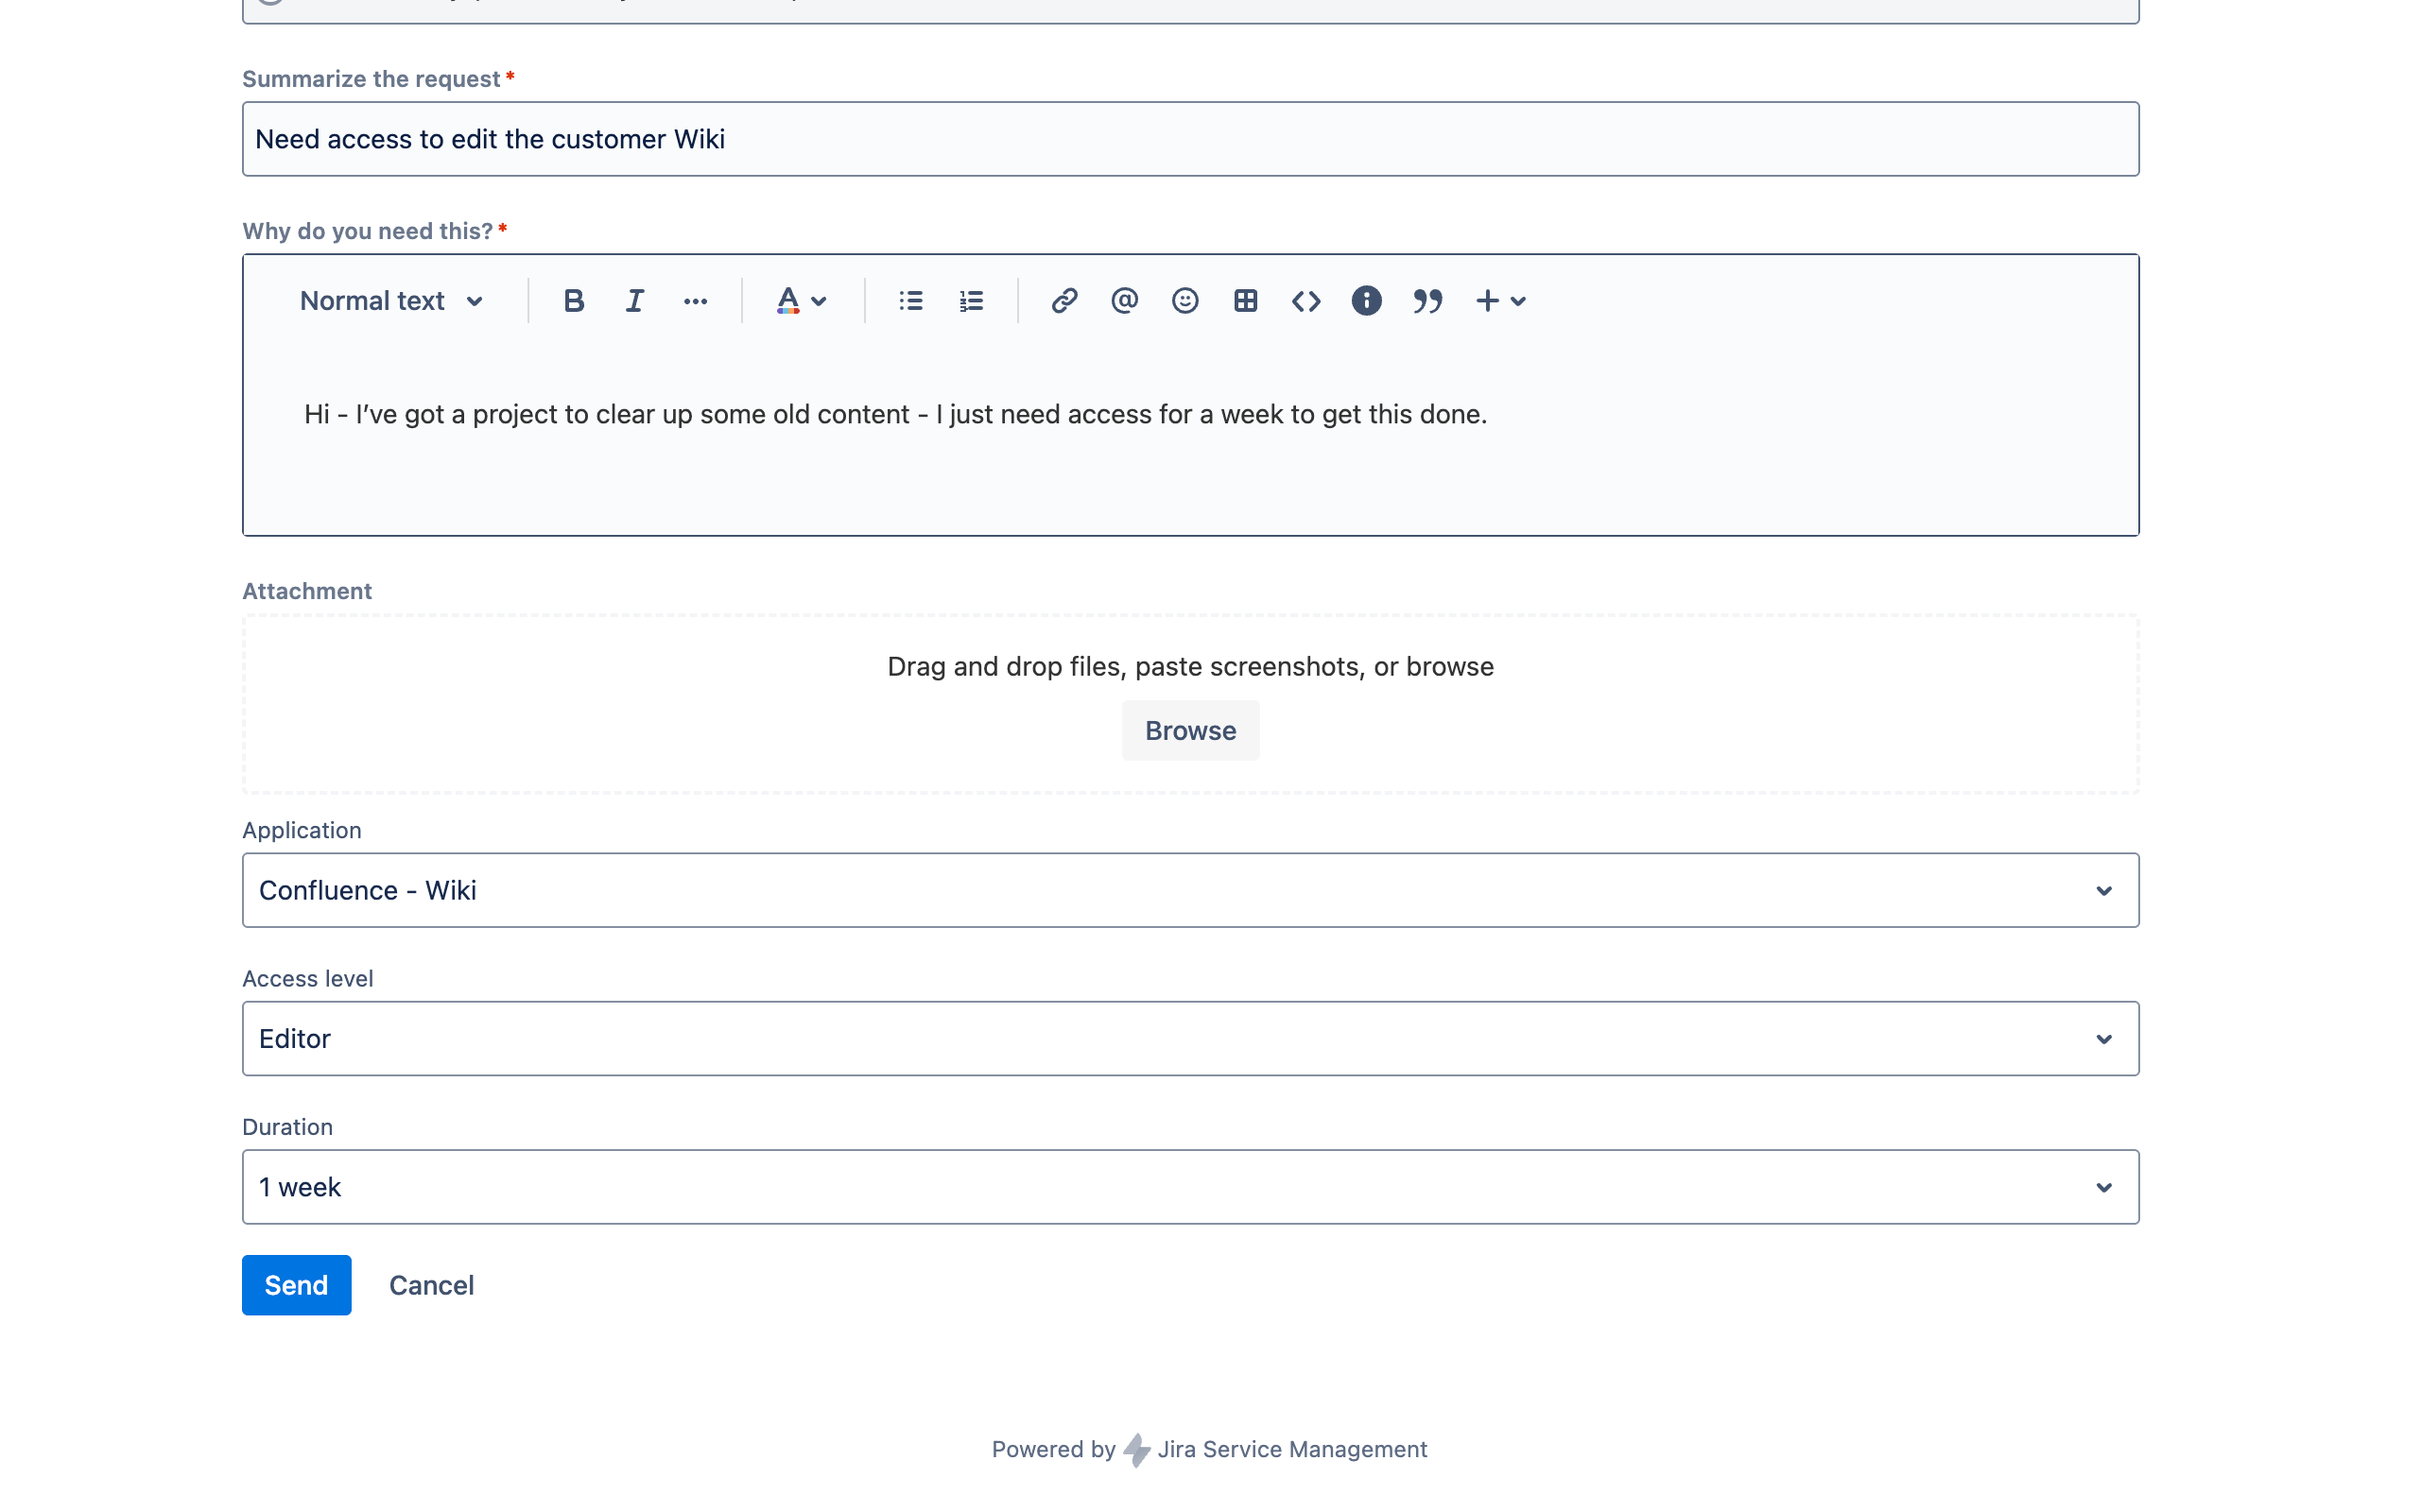
Selecting Send submits a request as usual.
When the request is submitted we don't automatically push this to SaaS Manager as you may want to have some Jira-based approval process or additional workflow when processing the request.
To submit the request to SaaS Manager for processing you need to use a Jira automation.
Go to Project settings > Automation and select Create from scratch from the Create rule action dropdown:
%20(1).png)
In this example we will use a Manual trigger from work item but you can use any conditional logic you want.
Select Add component to add a Send web request action.
%20(2).png)
Make sure HTTP method is set to POST, select Custom data for the Web request body, and then paste in the following JSON:
{
    "issueKey": "{{issue.key}}"
}
Next we need to get the URL we're posting to, and an access token.
These are available on the SaaS Manager Access Request configuration panel. Ideally open it in a new tab – you can get to from the top menu (More) > Apps > Manage your apps.
You need two piece of information:
- The trigger URL
- The Authorization header token
Paste in the trigger URL to the Web request URL field and then scroll down to add two Headers
| Header key | Value |
|---|---|
Content-Type |
application/json |
Authorization |
(Paste in the token including the word Bearer) |

Now test out the action by expanding Validate your web request configuration and enter in a ticket key and select Validate.
You should see a green 200 OK message.
If not, expand the response to troubleshoot.
Note that the work item you submit must have been generated and include an Access Request.
%20(4).png)
Select Next at the bottom of the right-hand panel and then select Turn on rule.
This will prompt you to name the rule. Do this, and select Turn on rule again.
While you are here, note the Audit log button at the top right. This is very helpful for troubleshooting.
Now go back to one of your requests and run the Submit to 1Password SaaS Manager automation.
The access request will now have been raised in SaaS Manager.
Comments
0 comments
Please sign in to leave a comment.