Google Forms can be used to initiate workflows in 1Password SaaS Manager by scripting a webhook. In this example we'll look at how you can initiate a workflow to onboard new employees; useful in cases where you're not able to connect your HR system.
Creating the SaaS Manager workflow
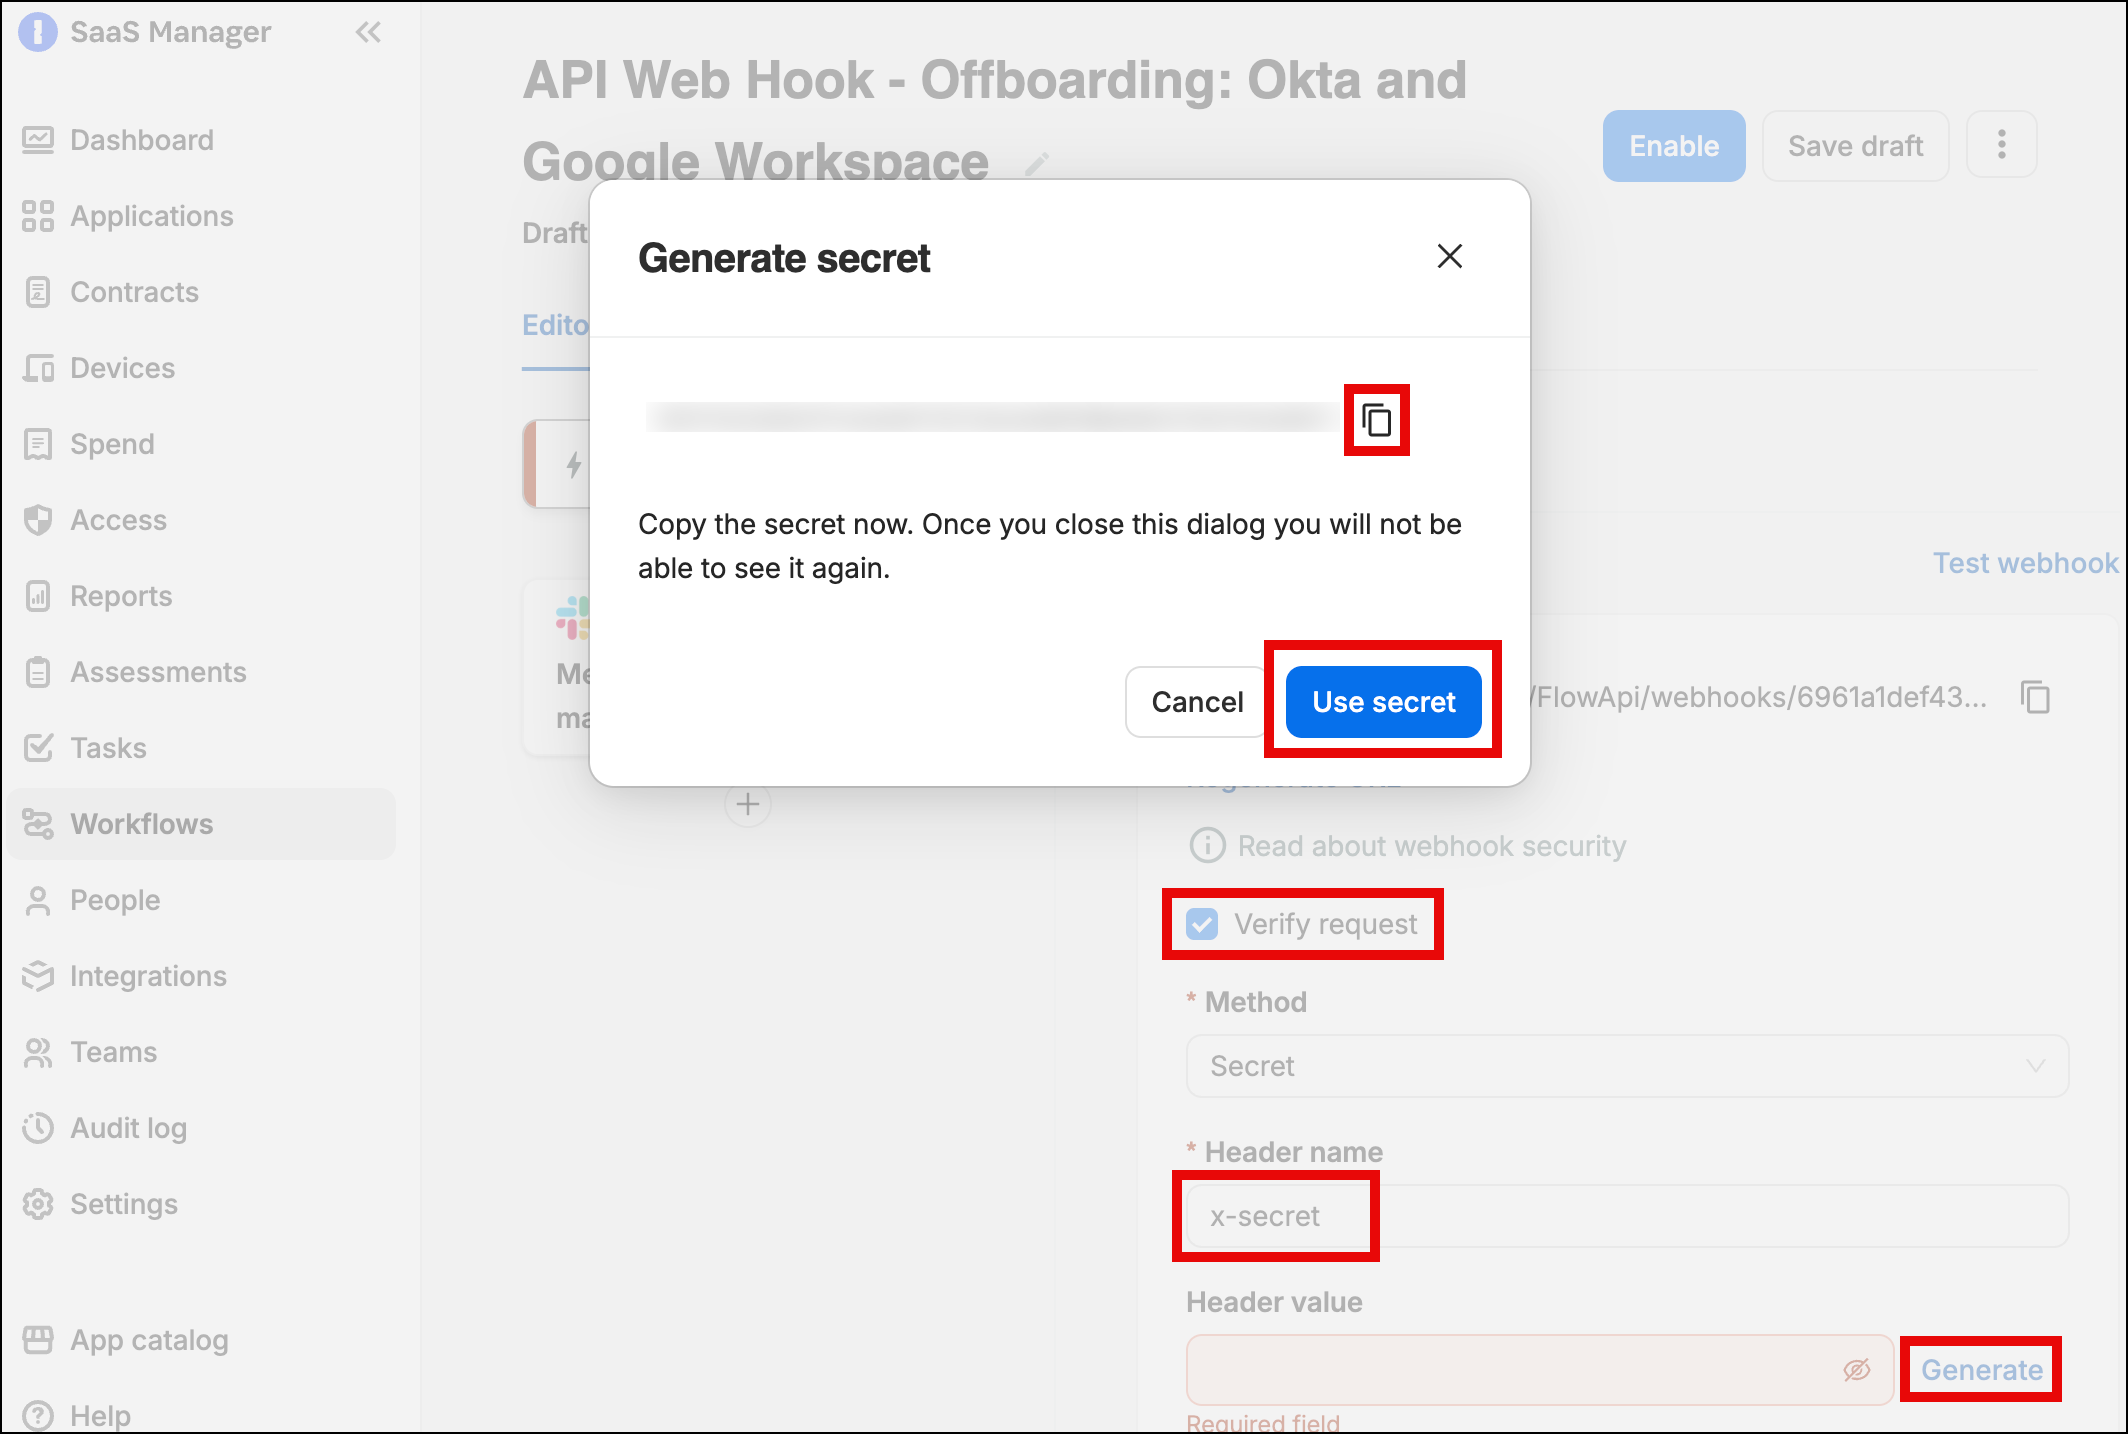
In SaaS Manager under Workflows, create an API webhook workflow trigger.
Ensure that Verify request is ticked.
Choose Secret for the verification method, and enter a header name, e.g. x-secret.
SaaS Manager can generate a secure secret for you. Click Generate, copy the value to the clipboard and choose Use Secret.
Click Save Draft on the workflow.
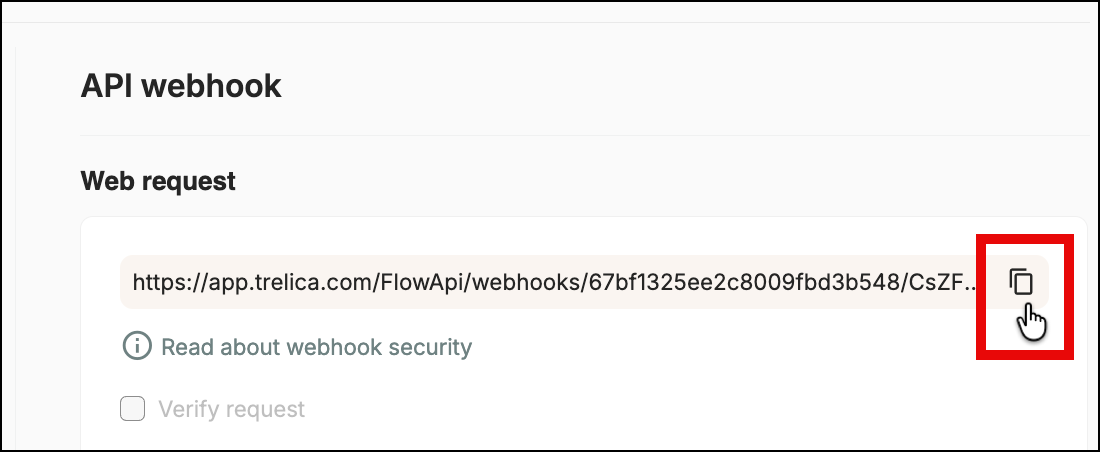
You will also need to provide Google Forms with the SaaS Manager webhook URL.
We're going to do a test first, so click Test Webhook in SaaS Manager and a dialog will show you the test URL that you'll need for Google Forms shortly. Leave this dialogue open ready for testing.
Configuring the Google Form script
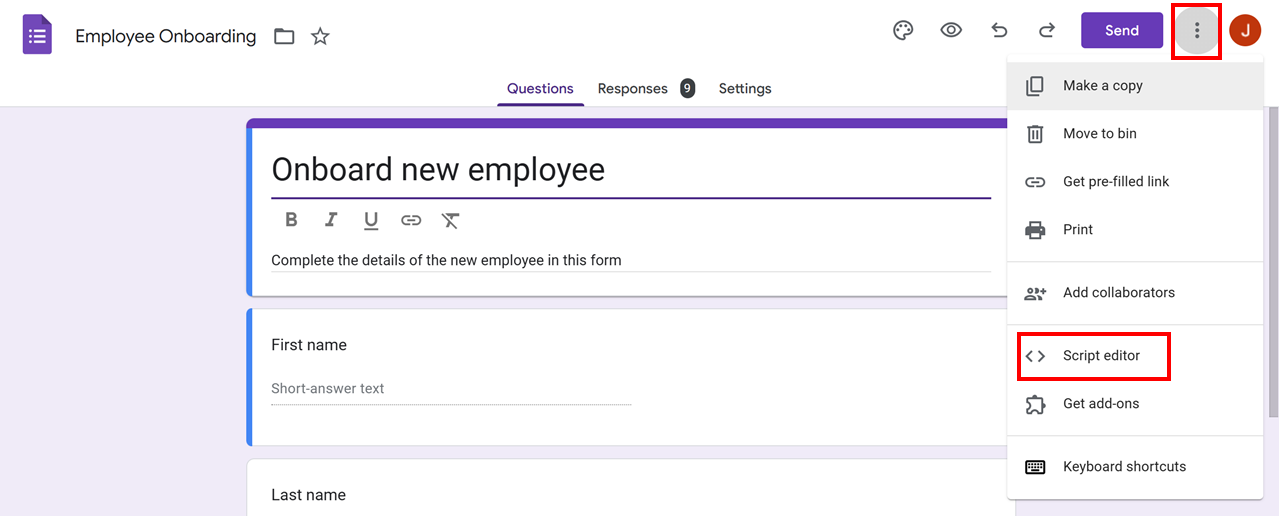
Navigate to the edit view of the Google From you want to use to initiate the SaaS Manager workflow.
Click on the context menu in the and select Script editor:
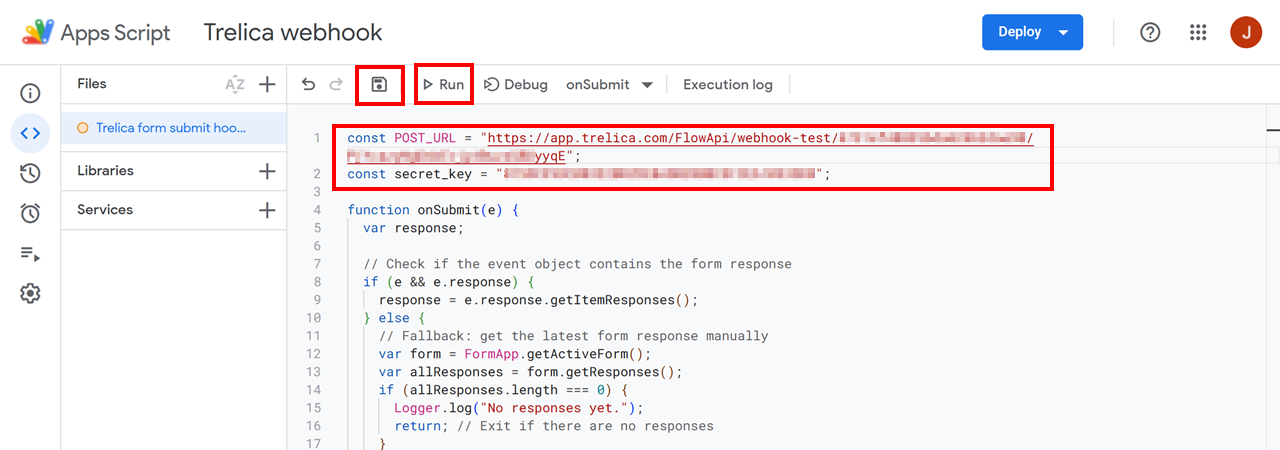
Copy the following script into the editor, remembering to add the SaaS Manager URL and secret that you generated in the steps above:
const POST_URL = "{YOUR SAAS MANAGER WORKFLOW URL}";
const secret_key = "{YOUR SAAS MANAGER WORKFLOW SECRET VALUE}";

function onSubmit(e) {
  var response;

  // Check if the event object contains the form response
  if (e && e.response) {
    response = e.response.getItemResponses();
  } else {
    // Fallback: get the latest form response manually
    var form = FormApp.getActiveForm();
    var allResponses = form.getResponses();
    if (allResponses.length === 0) {
      Logger.log("No responses yet.");
      return; // Exit if there are no responses
    }
    var latestResponse = allResponses[allResponses.length - 1];
    response = latestResponse.getItemResponses();
  }

  var payload = {};

  for (var i = 0; i < response.length; i++)
  {
    var item = response[i].getItem();
    var fieldTitle = item.getTitle()
      .toLowerCase()
      .replace(/\s+/g, '_')
      .replace(/[^a-zA-Z0-9_]/g, '');
    var answer = response[i].getResponse();
    payload[fieldTitle] = answer;
  }

  var options = {
    "method": "post",
    "contentType": "application/json",
    "payload": JSON.stringify({"content": payload}),
    "headers": {
      "x-secret": secret_key
    },
    "muteHttpExceptions": true
  };

  // Log the payload for debugging
  Logger.log("Payload being sent: " + JSON.stringify(payload));

  try {
    // Perform the fetch with the options
    var response = UrlFetchApp.fetch(POST_URL, options);

    // Check if the response has the getContentText method
    if (typeof response.getContentText === 'function') {
      Logger.log(response.getContentText());
    } else {
      Logger.log("Invalid response structure: " + JSON.stringify(response));
    }

  } catch (error) {
    Logger.log("Error occurred: " + error);
  }
}
Click Save.
Testing the script
In order to test the webhook make sure that an instance of your form has been submitted.
Then click Run on the Google Script editor.
If the run is successful the SaaS Manager UI will display the response data.
Adding field inputs and mapping
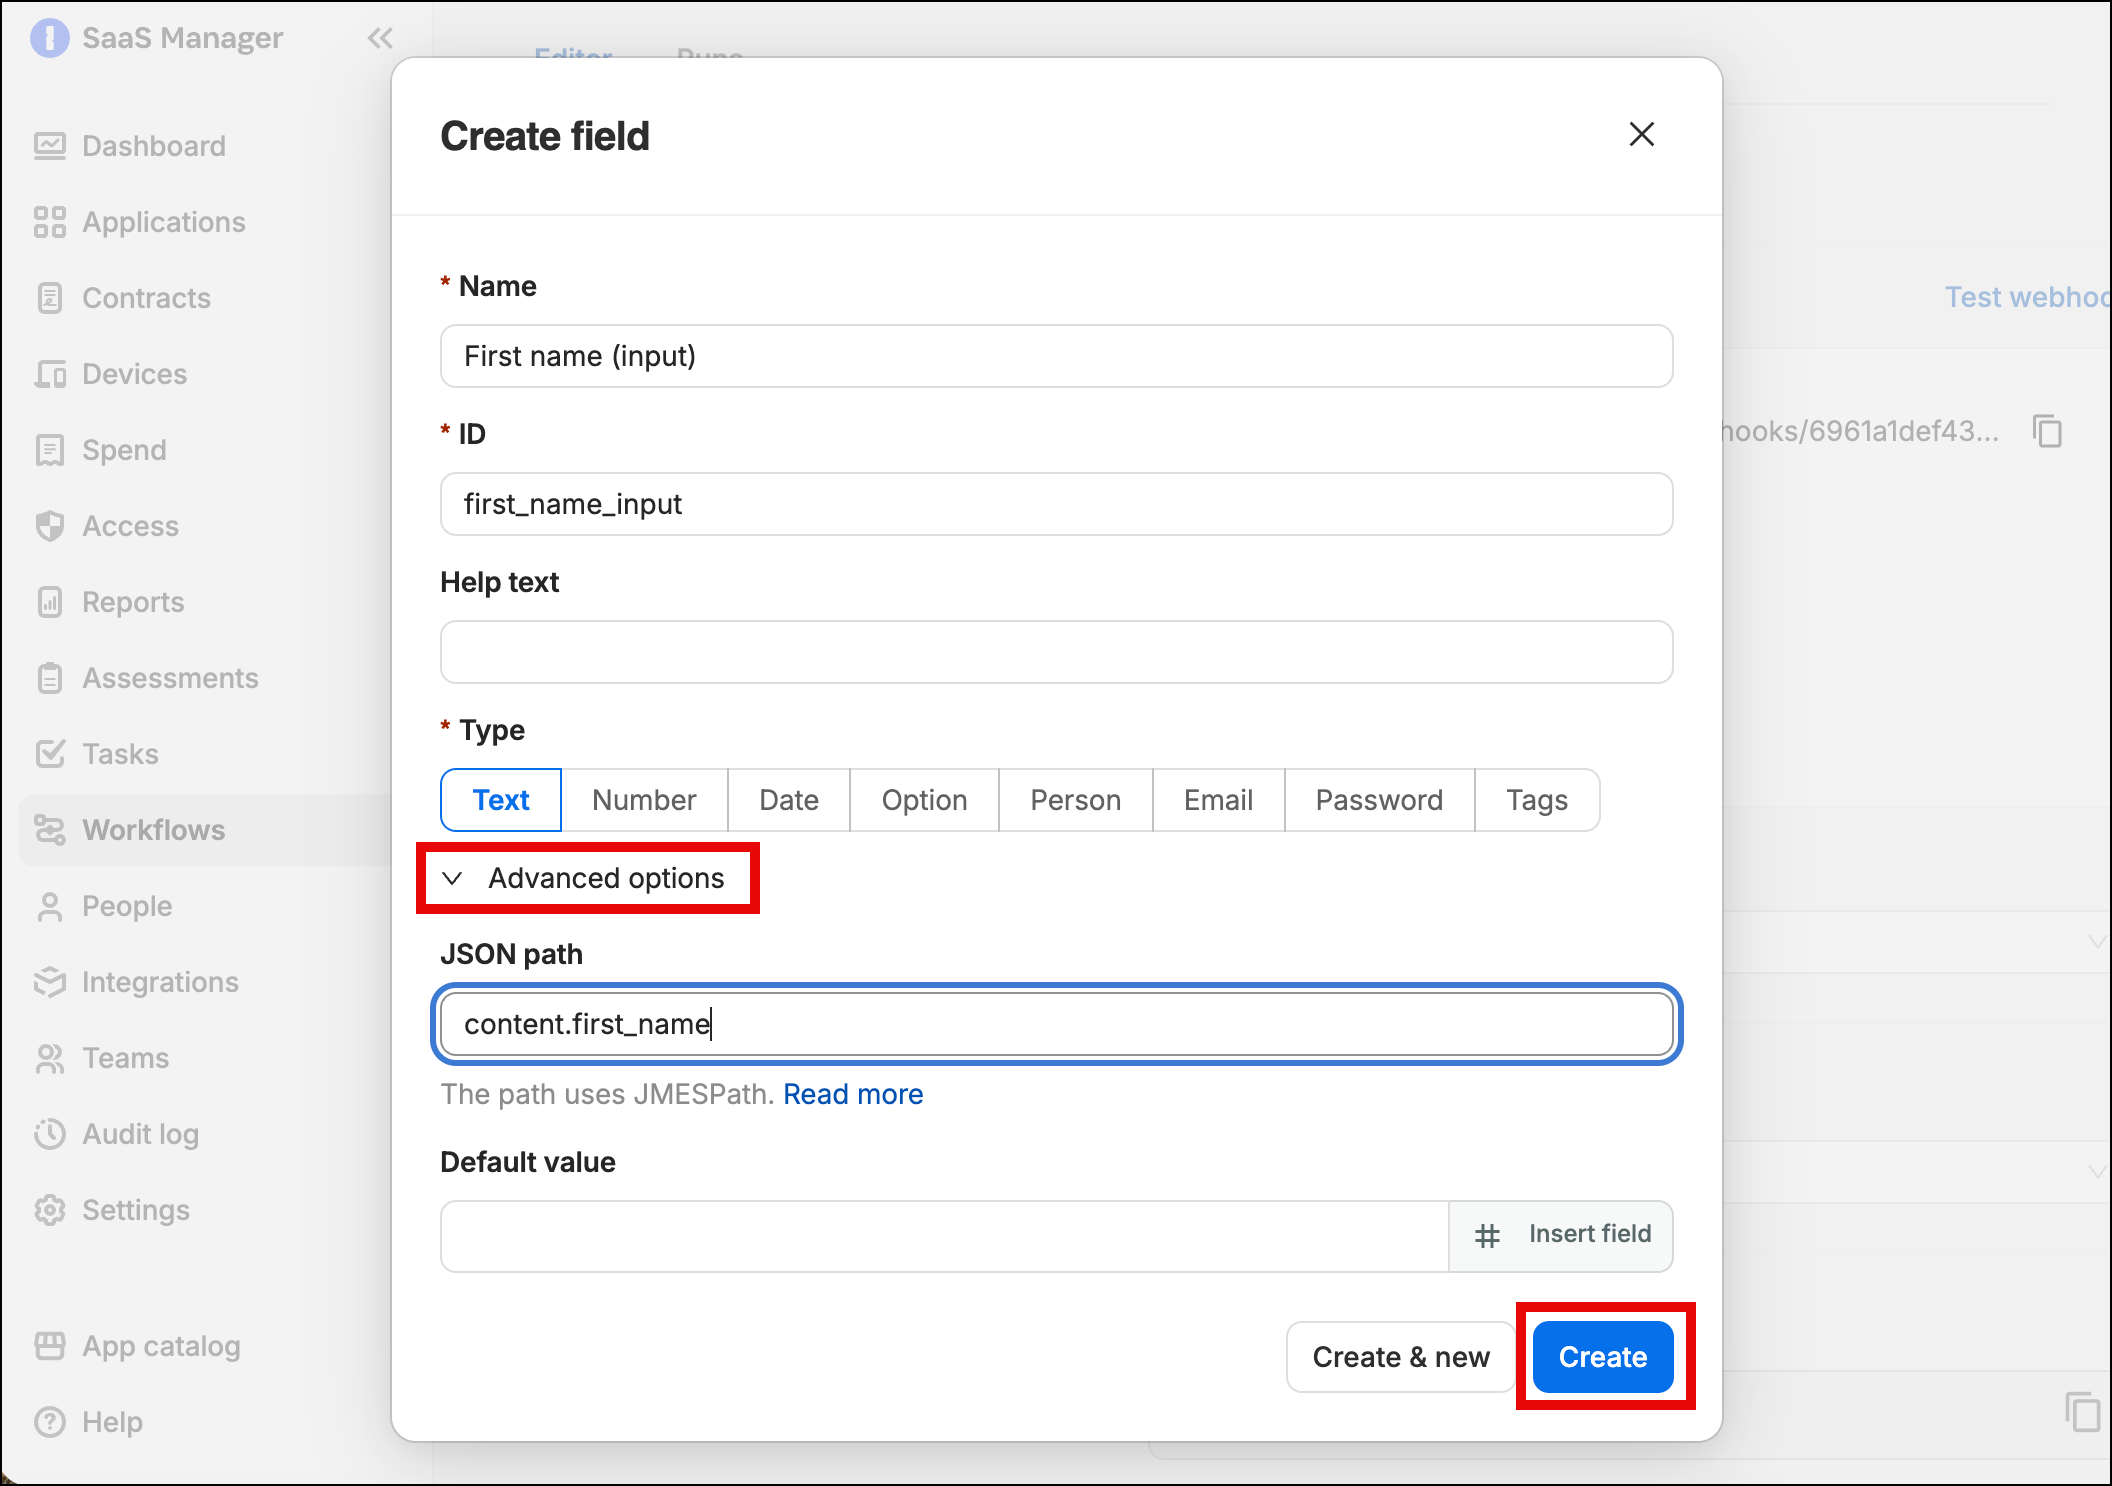
Once you have validated that the response is being received you can add input fields to your workflow to which you can map the JSON attributes:
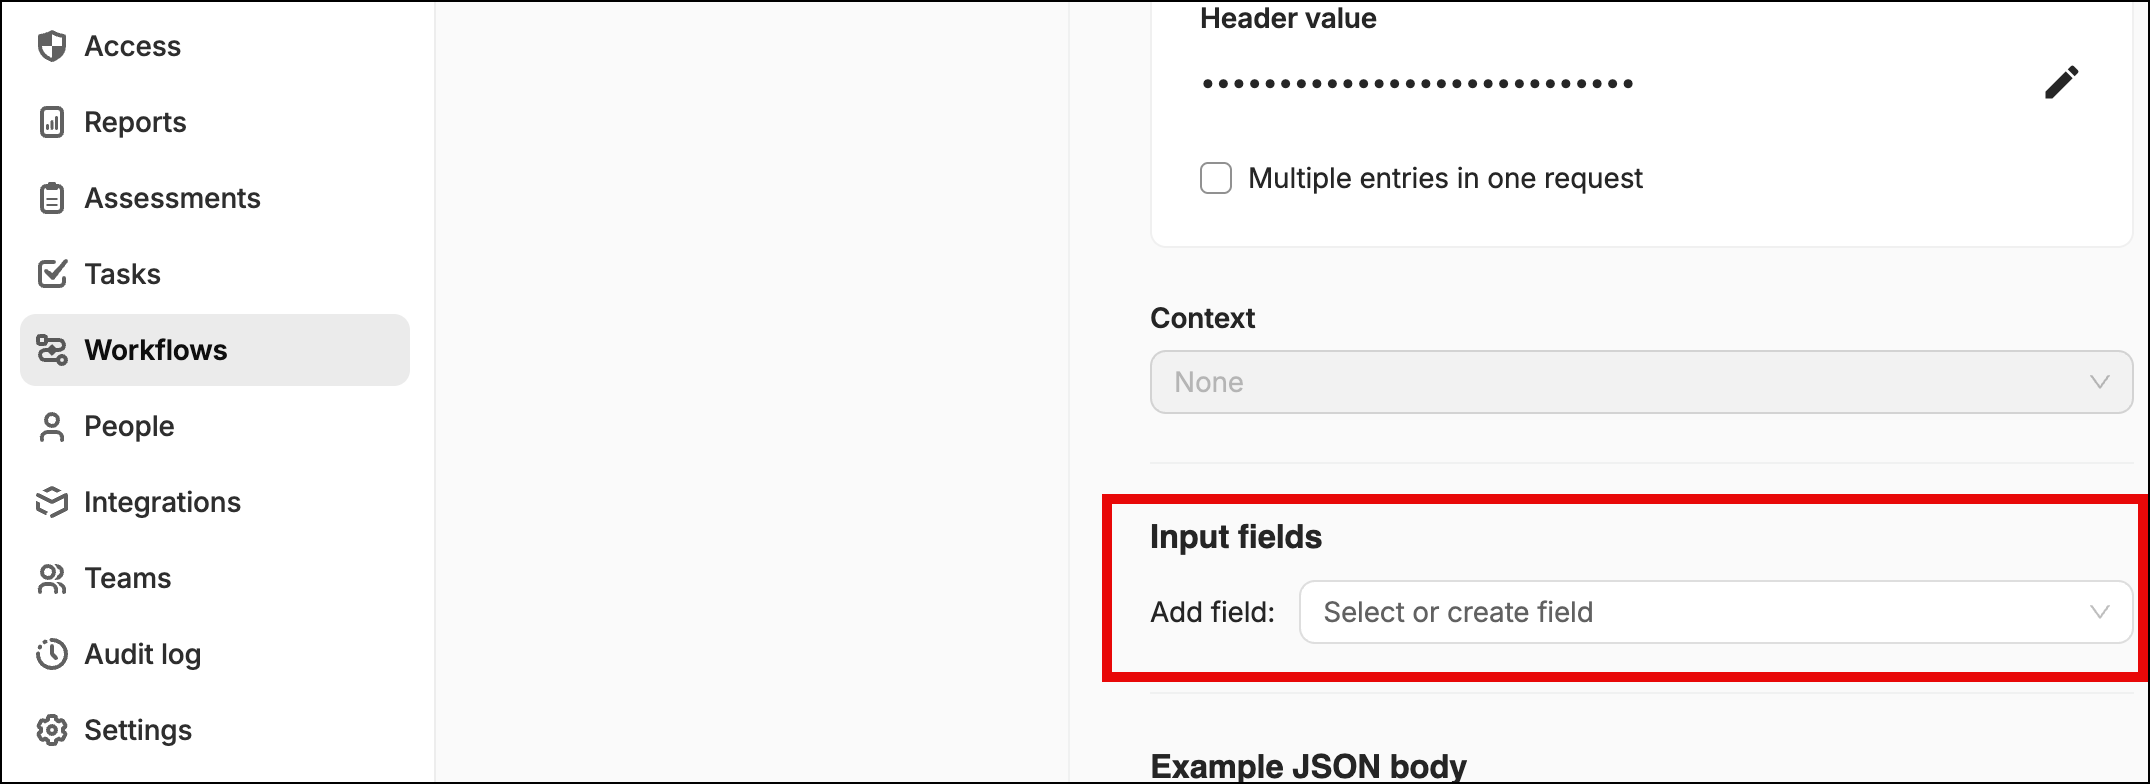
When creating input fields remember to provide:
- Field name (we suggest adding text that will make it clear the field is an input from a form a form; this will make it easier to pick the correct fields when adding them to workflow steps later as merge values, e.g.
First name (input). - The data type.
- Under Advanced options add the JSON path, as defined in the first test you ran.
Once you have configured all the field inputs your require, click Save draft on the workflow, select Test workflow, then return to your Google Forms script and click Run again (no need to submit another instance of the form).
This time the response message in the SaaS Manager workflow should include details of field values it would successfully map from the response data received.
Go live
In SaaS Manager configure the rest of your workflow, adding the steps you require (e.g. Create Person, Provision User, etc.).
Then copy the live workflow URL and paste it into your script in place of the test URL used previously (note the workflow can not be triggered until the workflow is enabled using the live URL):
In Google Form script editor click on the Triggers menu icon, and select Add Trigger:
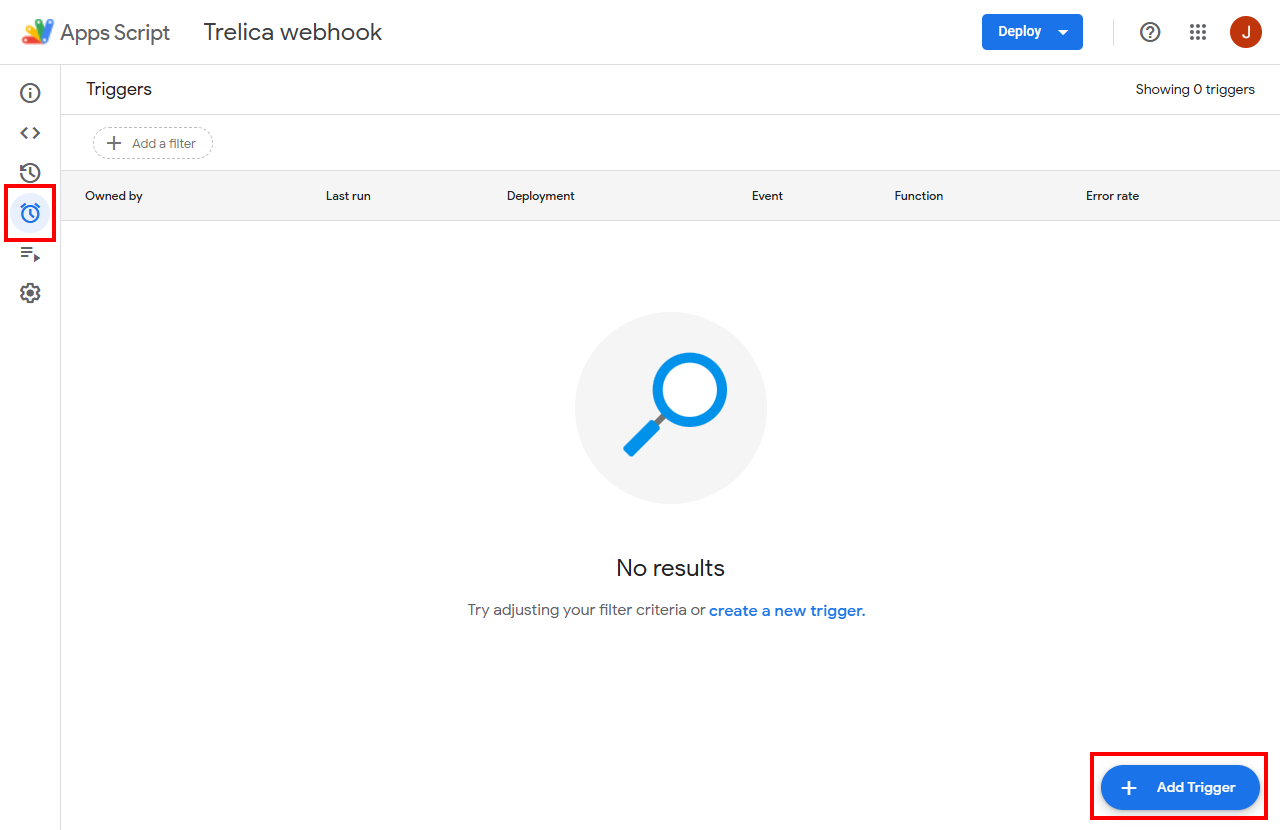
Configure your trigger:
- Select the name of the function you created (if you haven't changed it in the sample script it will be onSubmit).
- Choose the appropriate deployment (Head by default).
- Set the event source to From form.
- Set the event type to On form submit.
- Choose the frequency at which you would like to be notified of script errors.
Click Save.
Finally, in SaaS Manager, enable your workflow.
Comments
0 comments
Article is closed for comments.