The Savings tracker (Reports > Spend > Savings tracker) provides an overview of the number and nominal value of licenses reclaimed or freed-up by 1Password SaaS Manager actions related to offboarding and optimization. You can use the Savings tracker to view and report on the cost savings you have achieved with SaaS Manager.
Savings can be tracked automatically or entered manually.
Track savings automatically
Savings are tracked automatically whenever you use SaaS Manager to deprovision an app account that is associated with an active and paid license in the app profile.
For savings to be added to the Savings tracker automatically:
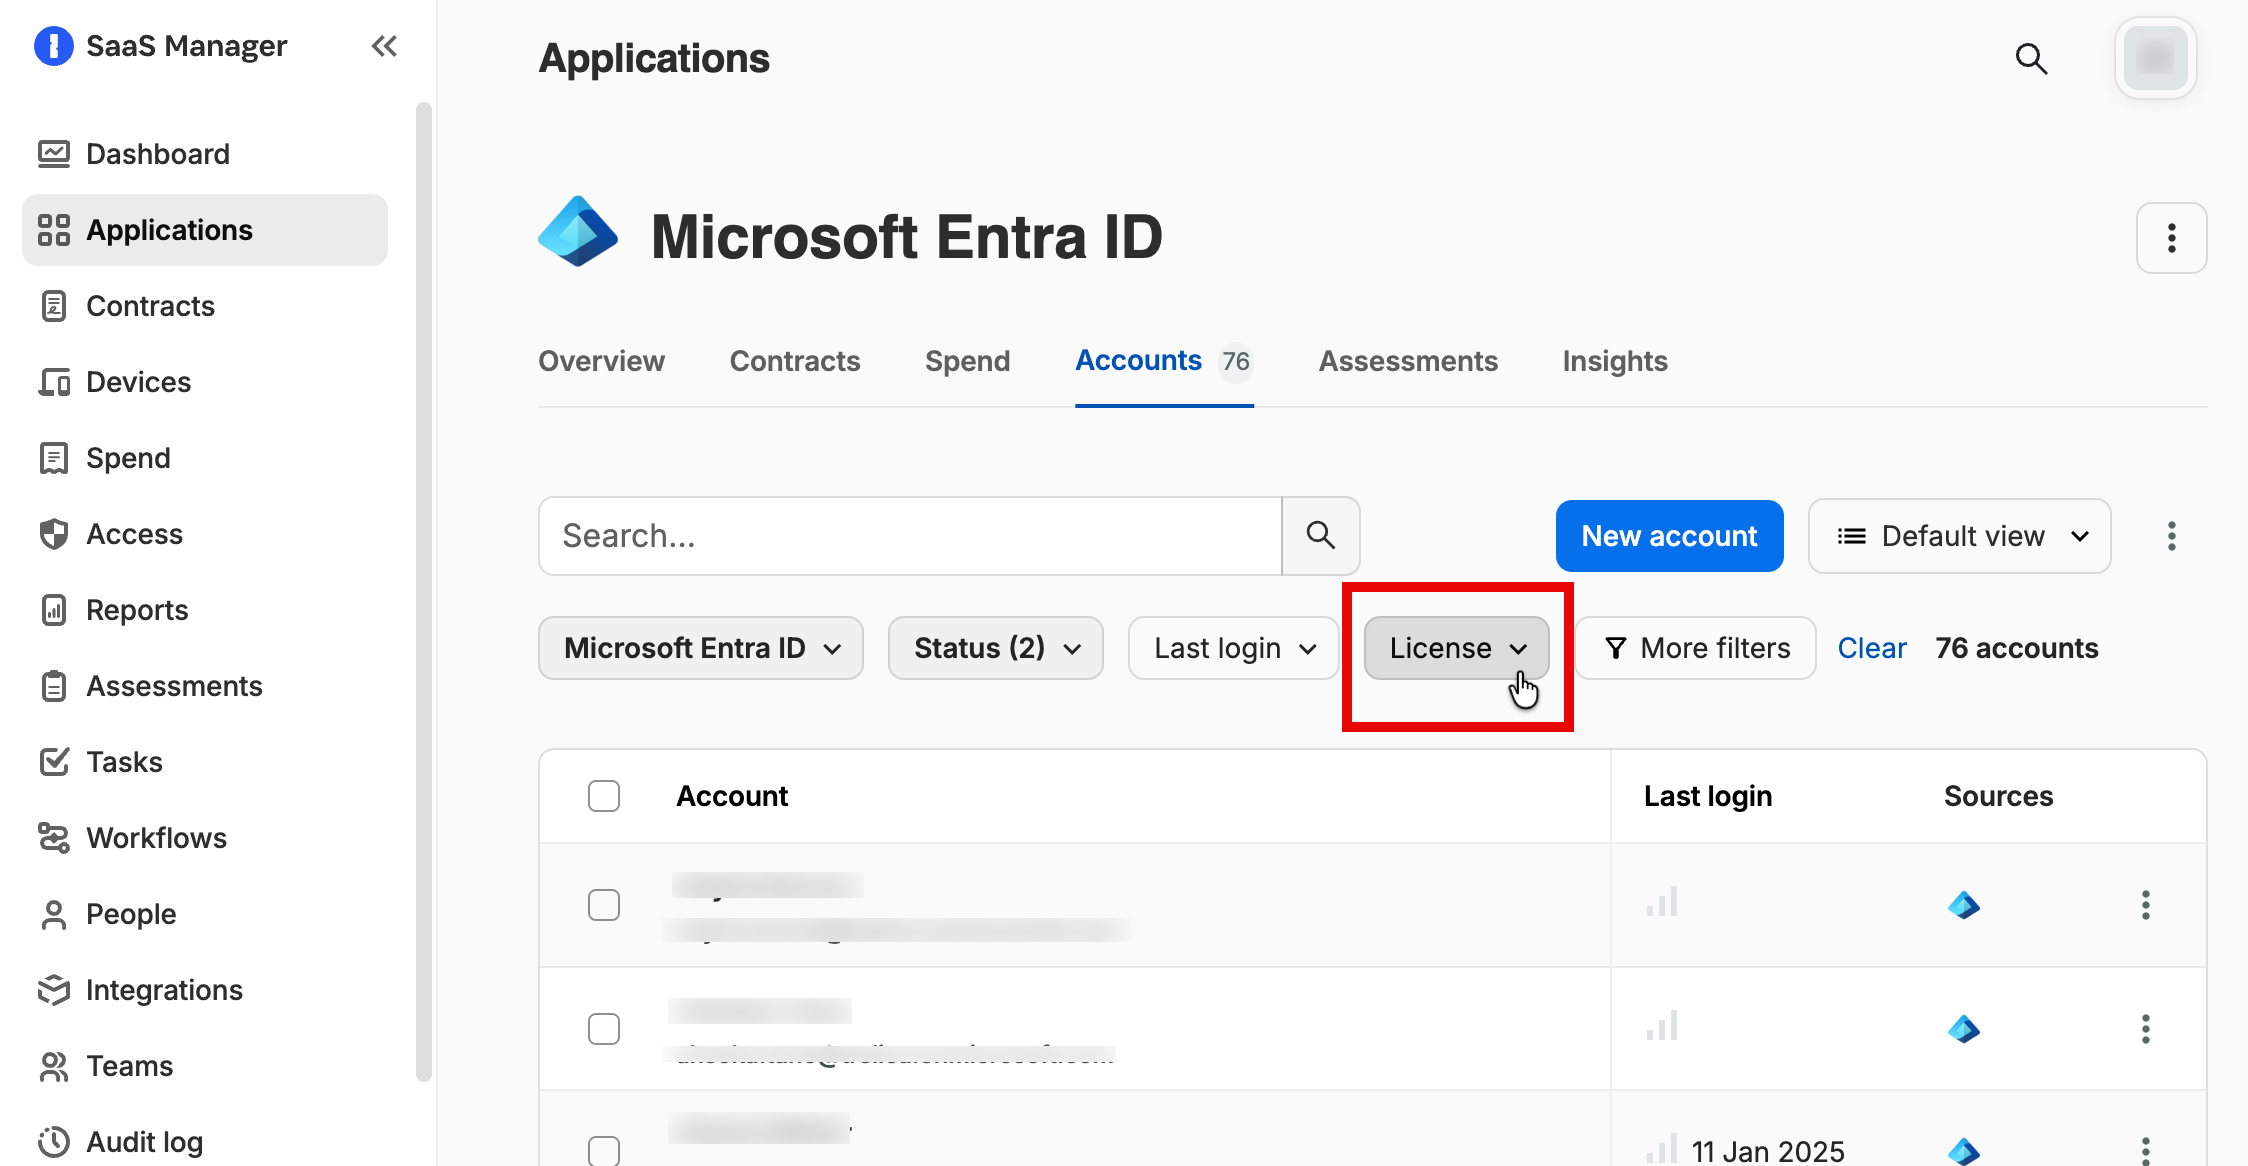
- Each app must have at least one license that is priced per account. The license price can be entered on either a monthly or annual basis. You can import license details from an integration or add license details to apps manually.
- App users must be associated with an active license. For some apps, you can import app account license information via an integration. Otherwise, you can assign licenses to app accounts manually from the Accounts tab on the app profile.
-
App accounts must be deprovisioned in one of the following ways:
- Via an offboarding or license optimization workflow. You can use workflows to deprovision app accounts directly via an app integration or Okta group unassignment. If an integration is not available, you can use the "Offboard person from apps" workflow step to generate deprovisioning tasks. The saving is recorded once the task is marked as complete.
- Manually from the Accounts tab on the app profile. For apps with suitable integrations, you can deprovision users directly from SaaS Manager. Depending on the app, you may have options to change a user's license, or to suspend, deactivate, deprovision or delete an app account.
Record savings manually
If you want to record savings that do not meet the criteria for being tracked automatically, you can add them to the Savings tracker manually. For example, you can use this option to record savings from apps with flat rate licenses.
To add license savings to the Savings tracker manually:
- Open the Savings tracker and select the pencil icon.
- Select the application for which you want to add savings.
- Select Add row to add aggregate data per month.
- Select Save and add another row, or select Done when you have finished.
View savings
The Savings tracker filters allow you to switch between showing monthly and yearly savings. You can also limit the results to a specific savings reason or time frame.
To see a breakdown, select on the amount or number of saved licenses. Automatically tracked and manually entered savings are shown separately.
For automatically tracked savings, the icon indicates whether deprovisioning was initiated via a workflow or manually from the app profile. Select the workflow icon to open the workflow run and view more details. Hover your mouse over the manual deprovisioning icon to view additional details.
Troubleshooting
If savings you expect to see are not displayed, do the following:
-
Check that the license information is entered adequately for the application. Open the application profile, select the Licenses tab, and edit the license to view the full details. Make sure that:
- The license is still valid.
- A per account price is set.
- The license is billed annually or monthly.
For more information, see Add contract and license details to apps.
- Check that accounts have been assigned to a license plan that matches one of the licenses on the License tab. From the application profile, open the Accounts tab and use the Licenses quick filter to filter the list by a license plan.
-
For savings that originate from a workflow:
- Check that the workflow uses either the "Person leaves" trigger, the "API webhook" trigger with the standard tag
Offboarding, or the "License not in use" trigger. - Check that the "Offboard person from apps" workflow step is used to generate any manual deprovisioning tasks.
For more information about configuring offboarding workflows, see Automate employee offboarding.
- Check that the workflow uses either the "Person leaves" trigger, the "API webhook" trigger with the standard tag
Related to
Comments
0 comments
Please sign in to leave a comment.